
How to create an X3 user
When creating an administrator user on the X3 Cloud portal, you will not be allowed to map it to the "ADMIN" X3 user. In the context of the X3 Cloud portal, you need instead to use a specific user named "ADMV2".
Before you follow these steps in Sage X3, make sure you are logged into the deployment environment in X3 Cloud portal.
Create a user manually in X3
-
Open Sage X3.
-
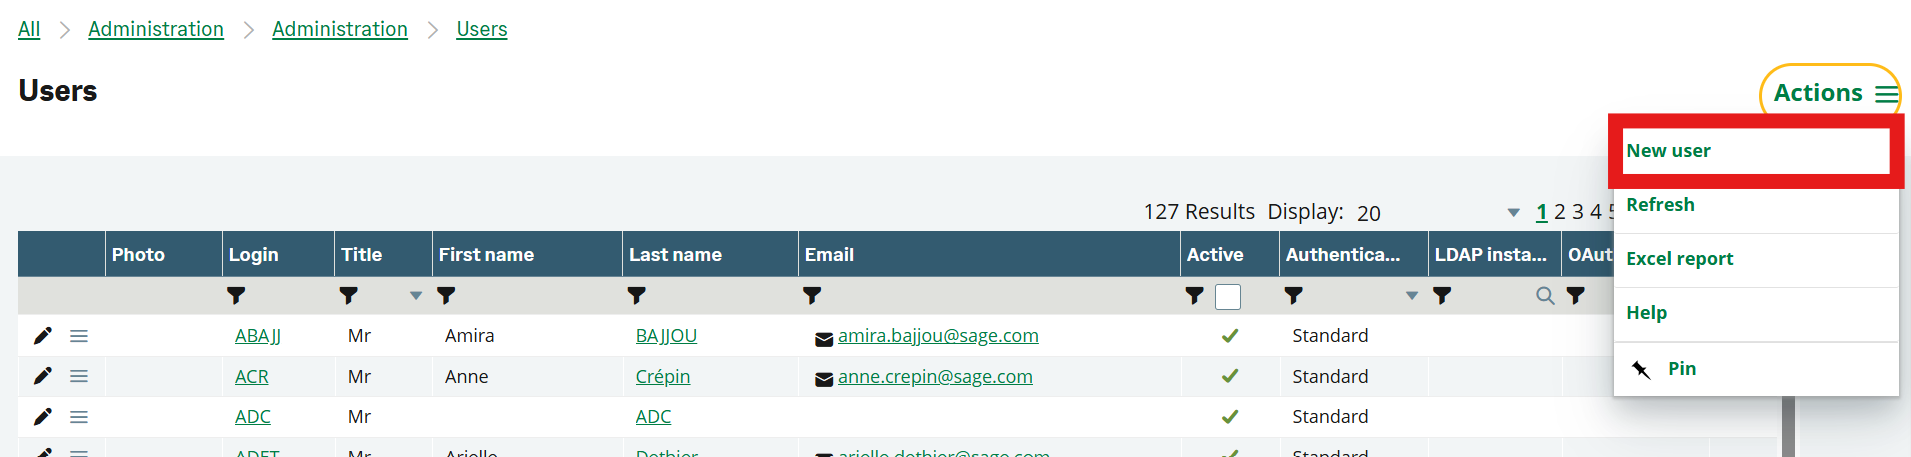
Go to Administration > Users > Users.
-
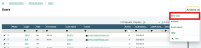
In the Actions menu, select New user.
-
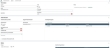
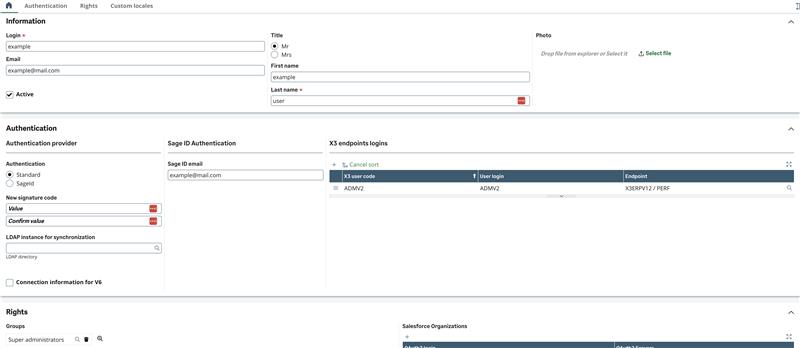
Fill in the following fields:
-
Login (surname, identifier)
-
Email
-
First name and Last name
-
-
Under Authentication, select Sage ID and enter the user’s Sage ID email.
-
Associate the user with the ADMV2 endpoint logins.
-
When you are ready to create the user, go to the Actions menu and select Save.
Create a user from the Cloud Portal
This action is available from X3 version 2026 R1.
-
In the Cloud Portal, open a running deployment.
-
Open the Actions menu.
-
Select Create my user in X3.

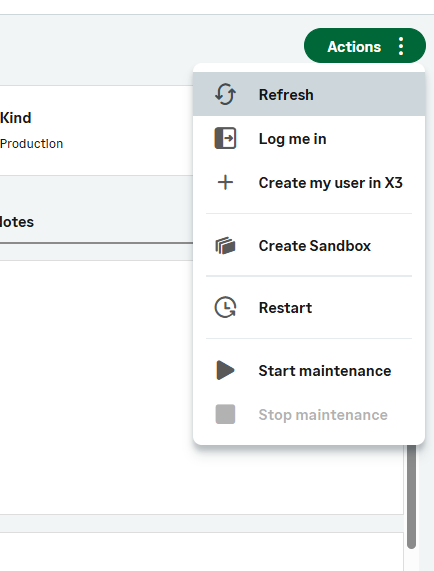
Your X3 user is automatically created and linked to your Sage ID. No additional configuration is required.
Impact on endpoint creation and folder imports
When importing a folder, you need to make sure that the X3 folder has a user named ADMV2. You can use the copy user feature of the X3 folder to copy the ADMV2 user to the new X3 folders.